
This blog post is more than five years old. It may contain outdated information or refer to products that are no longer available.
At some point, your nonprofit has likely faced a scenario in which you needed to make a simple flyer. Maybe it was for a fundraiser, an event like a beach cleanup or clothing drive, or even just your annual holiday party. Regardless of the occasion, this simple design task is among the most common at any organization. And even if you have great tools like those offered through Adobe Creative Cloud, using them correctly can be difficult, especially if you don't have a graphic designer on staff.
We want to help. In what follows, we're going to show you how you can use Adobe Photoshop, Adobe Illustrator, or Adobe InDesign (all available through an Adobe Creative Cloud membership) to make a flyer at your nonprofit.
Each application is specialized to do different things, but ultimately, you can create a flyer in any of the three. Photoshop is typically used to edit image files, which are composed of tiny dots called pixels. The number of pixels in an image file is finite. Lots of them are needed to prevent your design from breaking up, or "pixelating" — 300 pixels per inch, for a printed document
Illustrator, on the other hand, is used to edit vectors. Vectors are mathematically defined shapes and objects, which can be scaled to any size and always look sharp. Don't worry, the computer does the "math"; you just design.
Lastly, InDesign is the ideal tool to use when creating multipage documents, especially those that combine both pixel-based and vector-based images, along with text.
But you'll see what we're talking about as we take you through each example. Let's begin!
Photoshop
Photoshop is designed for modifying pixel-based images — typically digital photos or those scanned from film. It's an exceedingly powerful tool for that, but you can still create a flyer if this is the application with which you're currently most comfortable. But be aware of your flyer's ultimate size, keeping in mind the "300 pixels per inch" rule, for print. According to this, an 8 1/2 x 11-inch flyer requires a 2,550 x 3,300-pixel document, which takes a lot of space and processing power on your computer. That said, let's make a flyer using Photoshop.
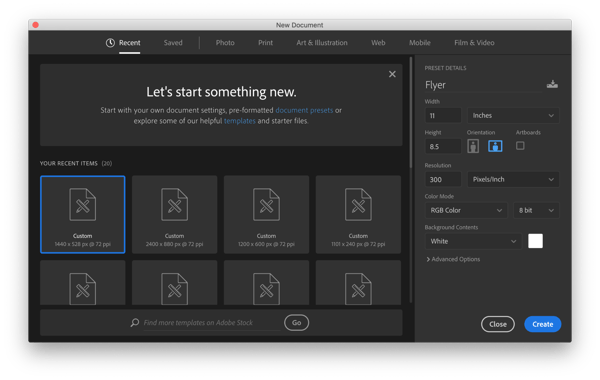
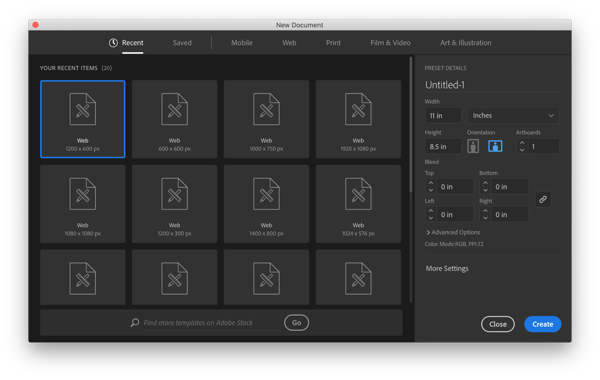
1. Choose File > New and create a new document.
2. Set the size of your document, in this case 11 inches wide and 8.5 inches high.
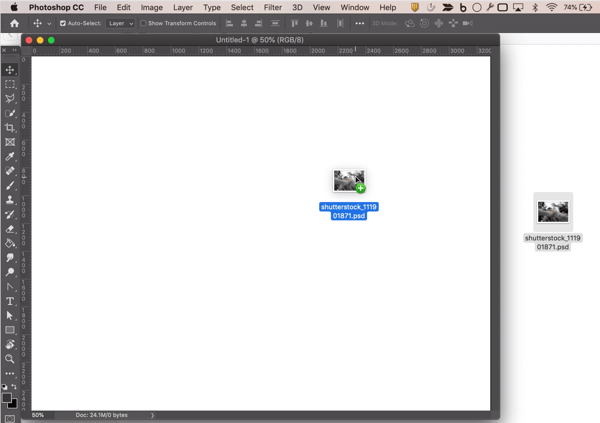
3. Import a photo by dragging the icon directly from your desktop into the window.
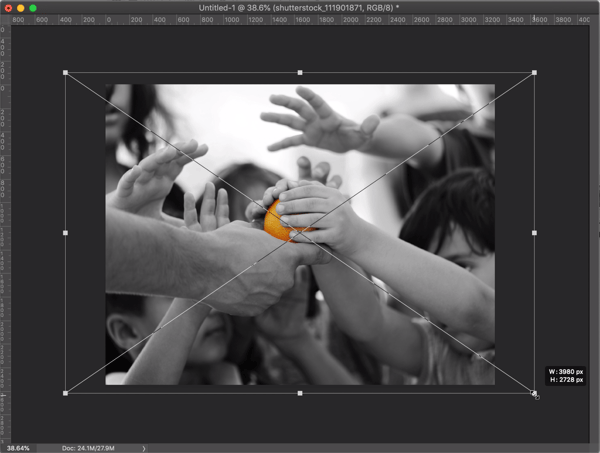
4. Resize the photo by dragging the corner handles. Hold down Shift to avoid distortion.
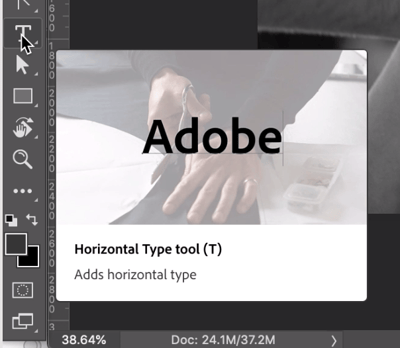
5. Select the Horizontal Type tool in the Tools panel.
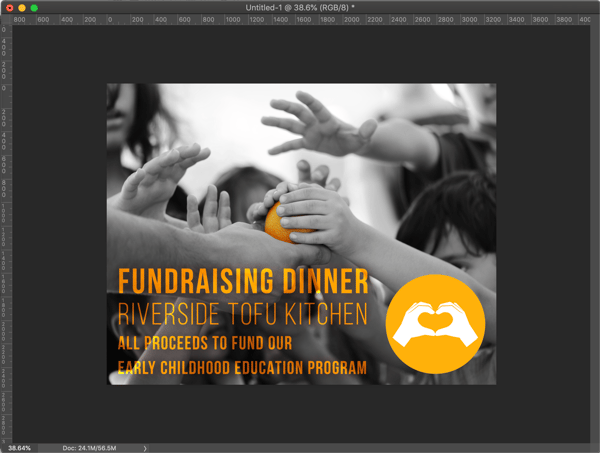
6. Create a text box and set your text. For our examples, we went with a fictitious fundraiser at a tofu restaurant.

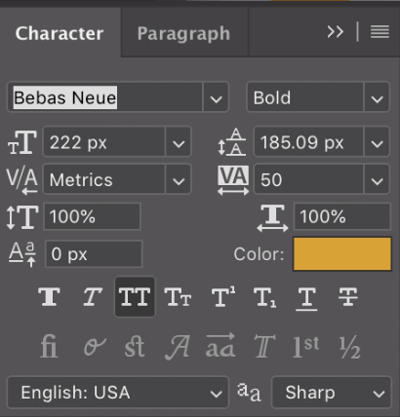
7. Choose Window > Character. Set your font, size, and other properties. We played around with Blending Options to add an effect to our text here, but we'll go through advanced techniques another time.
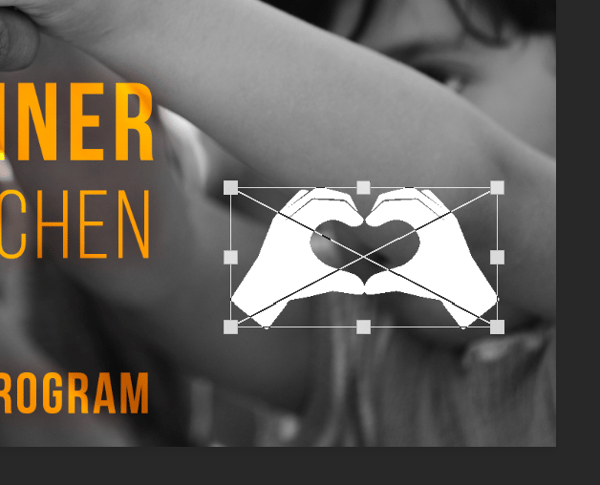
8. Drag other elements into your composition.
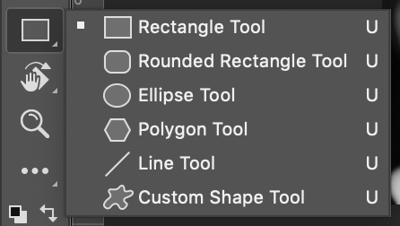
9. Create shapes by using the Shapes Tool in the Tools panel.
10. Arrange all your items to your desired configuration, and there you have it! A great flyer to promote your event.

Illustrator
As we've shown above, it's certainly possible to create a great flyer in Photoshop. That said, Illustrator would be a more logical go-to for this project. That's because vector-based images can be scaled to virtually any size without losing sharpness. In this case, a flyer with text isn't really an "image," or a picture of words. It's a combination of objects, such as text, graphics, and so on, all of which Illustrator was made to manipulate, scale, and format.
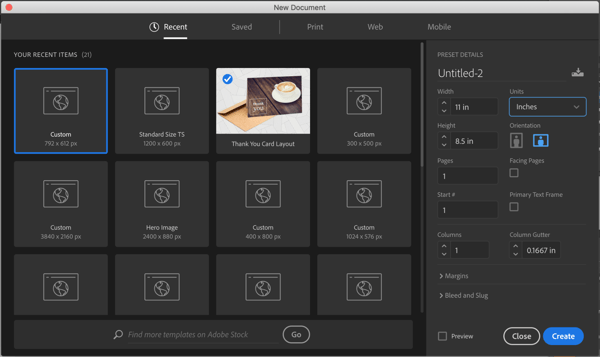
1. Choose File > New and create a new document.
2. Set the size of your document, in this case 11 inches wide and 8.5 inches high.
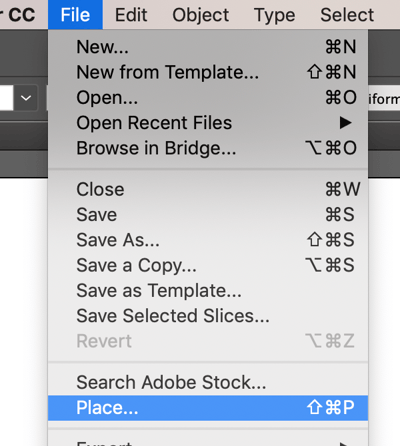
3. Choose File > Place to import a photo. Note: You can add photos into an Illustrator file. Just remember that this does not turn your photo into a vector graphic. For this reason, you'll still need to mindful of the rules about resolution we discussed earlier.
It should look something like this:
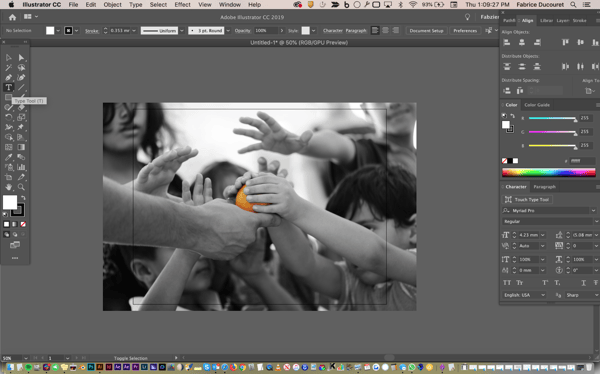
4. Create a text box using the Type Tool in the Tools panel. Then, navigate to the Character panel, set your font and font size, and compose your text block.

Illustrator is great for manipulating shapes and text. The 3D Effects panel is a fun example. But there are countless others.

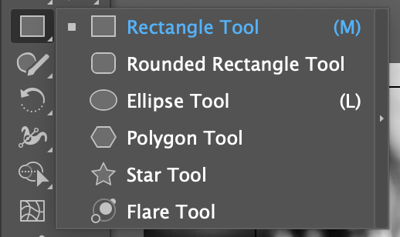
5. Create shapes by clicking on the Shapes Tool in the Tools panel.
6. Place other items into your workspace, arrange them to your liking, and you're all set! Another great flyer using powerful tools from Adobe.

InDesign
1. Choose File > New and create a new document.
2. Set the size of your document, in this case 11 inches wide and 8.5 inches high.
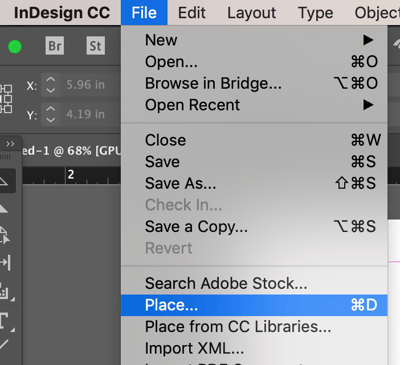
3. Choose File > Place to import a photo.
4. Create a text box using the Type Tool. Then navigate to the Character Panel, set your font and font size, and compose your text block.

5. As with the other two applications, you can add effects to your text (in this example, we used Drop Shadow).

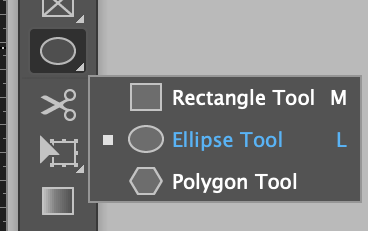
6. Create shapes using the Ellipse Tool in the Tools panel.
7. Drag in other items, arrange them accordingly, et voila! A third and final example of a great-looking flyer that's sure to spread the word about our make-believe event.
We hope you have found this guide useful, and that you're now ready to get started making great materials at your organization. However, it's important to note that we've really just scratched the surface of these applications' functionalities. Stay tuned in the future for more tips on using Adobe Creative Cloud!

Additional Resources: Graphic Design for Nonprofits
- Get 4 Tips to Design Your Next Annual Report.
- Go deeper with InDesign and Create a Fundraiser Invitation.
- Get Your Design Learner's Permit from TechSoup Courses.
- Watch a free webinar on Communications Made Beautiful with Adobe.